Archetype: Ranged DPS
Special Mechanic: Combustion
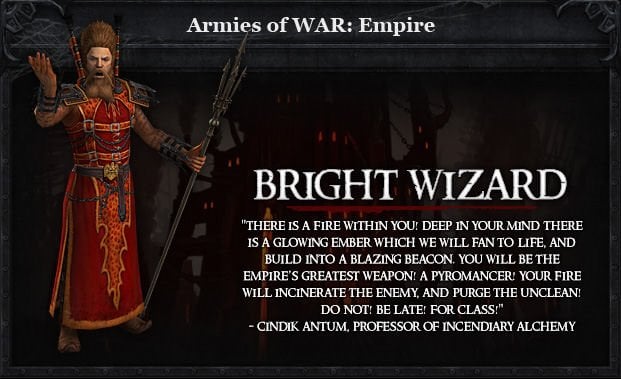
Class Details: An offensive ranged career, Bright Wizards wield powerful magic that is extremely lethal to anyone in the vicinity. The spell Combustion, in particular, allows the Bright Gizzard to increase their spell power to such a dangerous levels that they risk miscasting and hurting themselves in the process.
Career Masteries
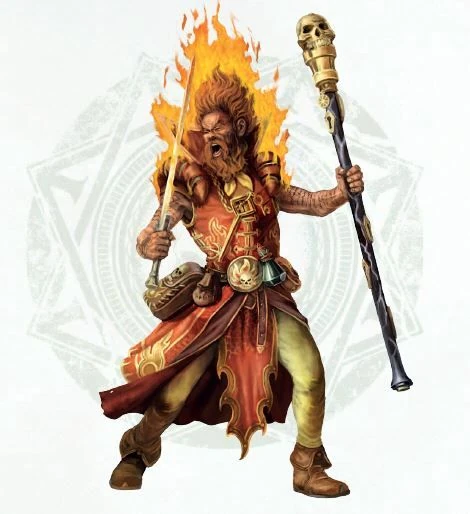
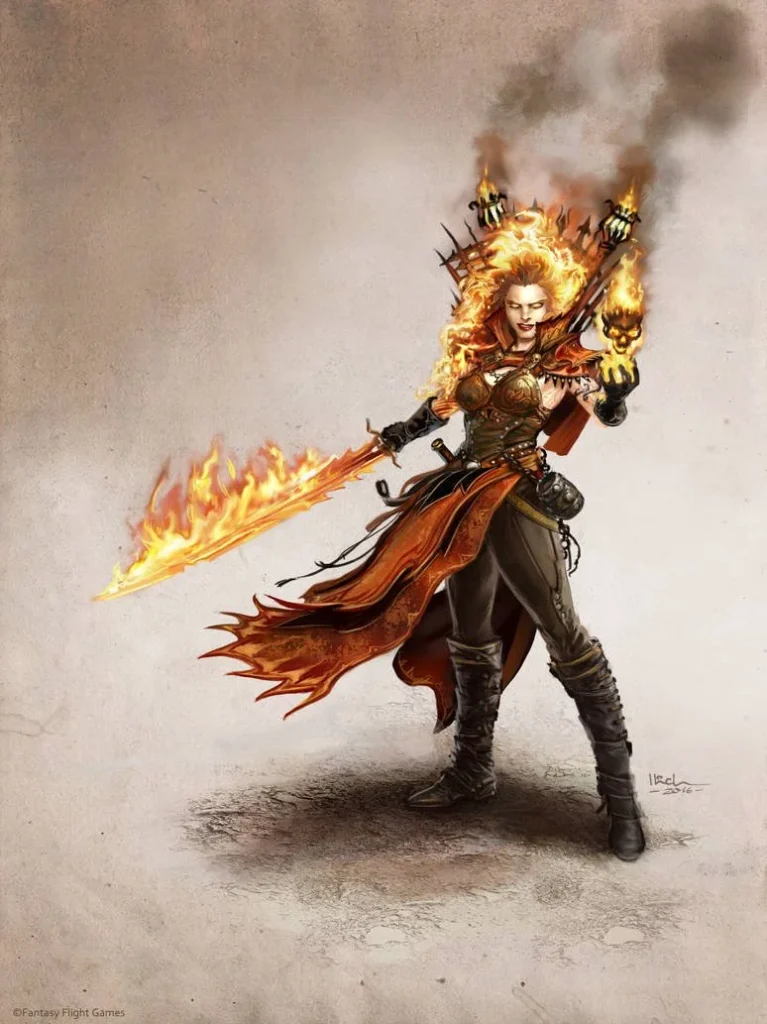
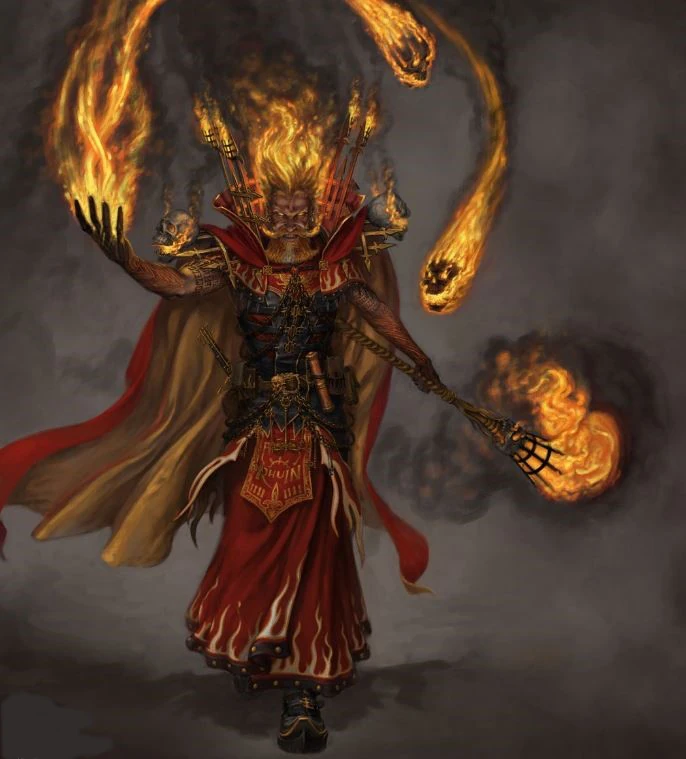
Master of the Lore of Fire, the Bright Wizard is the most destructive battle wizard in all of the Empire. The Bright wizard is renowned for his ability to incinerate anything, ranging from individual soldiers to an entire hillside. However, destructive fire is not the only trick in his arsenal. The Bright Wizards is also capable of manipulating the wind of Aqshy to cause a variety of debilitating effects, ranging from thick banks of choking smoke, to withering heat that saps the strength and endurance from even the staunchest warrior. Some Bright Wizards have even been known to dabble in the healing arts, though cauterizing a wound with white hot fire is never a soldiers first choice!
Due to the volatile nature of Aqshy, the Red Wind of Fire that they manipulate, the Bright Wizard is always risking a backlash that could incinerate himself as well as his opponent. This buildup of Aqshy is known as Combustion and the greater the level of Combustion a Bright Wizard places into his destructive spells the more likely they will explode with stupendous results (Critical Hit). However, even the most skilled wizard will get burned when playing with fire. Pushing the combustion level too high can result in a backlash of magical energy that will damage the Wizard himself.
Path of Incineration
The Path of Incineration primarily focuses on destructive single-target spells. About half of these spells have high values of Combustion allowing those who master the Path of Incineration to focus on weaving high risk spells in with more reliable destructive magics for optimal single target damage.
Path of Immolation
The Path of Immolation focuses on damage over time and debilitating, lingering debuffs. A Master of Immolation is more patient, relying less on high-Combustion spells with explosive effect and more on slow burns that build up into an unstoppable inferno.
Path of Conflagration
The Path of Conflagration is the most destructive of the Bright Wizard masteries with area effect spells capable of burning entire swaths of land to a crisp. However, Masters of Conflagration must exert the most self-control; most of their spells build up high levels of Combustion and their reckless use could mean the Bright Wizards doom as well.
Important Stats
As an Bright Wizard you will need the following statistics which you can improve using armor sets, weapons, rings, talismans and renown points.
Intelligence: Increases your magical damage reduces the chance your opponent’s chance to block or disrupt attacks.
Critical Chance: Increase your chance to do Critical damage .
Wounds: Increases your overall HP. You can never have enough HP.
Acquiring Gear
There are many ways to get gear:
- Open RvR: The gear and weapons you get here are for your main spec. When you kill or lock a zone you will be given a number of War Crests according to your level which you can trade for armor and weapons. At the end of a zone if you roll high enough you will be give a color bag with may contain certain tokens that you can trade and get a jewel set. Engineers don’t have defensive jewels set like other classes.
- Scenarios: Scenarios remain a very strong source of gear. You continue to earn War Crests at the end of every scenario, which are then traded with vendors in Altdorf (Order) or the Inevitable City (Destruction) for armor and weapons. The quality of gear from scenarios can still be among the best in the game, making them a crucial part of gearing up.
- Achievements & Tokens: The Tome of Knowledge is still a vital system. By completing achievements (e.g., killing a certain number of creatures, collecting specific items, or exploring areas), you unlock entries in your Tome. These unlocks can reward tokens that are then traded in the library in Altdorf or the Inevitable City for unique jewels or tactics. Some very desirable sets and bonuses can be acquired this way. The development team has continued to add more Tome Achievement Unlocks, including some tied to Live Events as of 2025.
- Tier 4 epic quests: The epic quest lines in each area continue to be a source of significant rewards. Upon completing these lengthy, multi-step quest chains, you are typically given a choice of a powerful item, often with unique appearances or stats. These quests are a reliable way to get high-quality gear.
- Dungeons & Lairs: Dungeons and lairs are still important for acquiring gear, weapons, and jewels, both while leveling up and for end-game progression. The RoR team has been actively updating and even adding new PvE content. For example, as of early 2025, there’s a “Lost Vale” dungeon update introducing new armor sets (Dark Promise sets, including main spec, off-spec, and hybrid options), and materials for crafting permanent rings.
- Ward System: The game utilizes a “Ward” system where you often need to unlock lower-tier Ward sets before being able to equip higher-tier dungeon gear (e.g., Gunbad -> City -> Bastion Stair).
- Public Quests (PQs): While not strictly “dungeons,” PQs are large-scale PvE events that can also provide gear through loot bags. RoR has implemented different difficulties for PQs (Easy, Normal, Hard) which scale with the recommended number of players and offer varying loot quality.
The Bright Wizard: Imperial Incinerator of the Enemy Lines
The Bright Wizard (BW) in Warhammer Online: Return of Reckoning is a devastating spell-casting ranged DPS class, renowned for its raw magical power and ability to unleash torrents of flame upon its foes. With two distinct specializations focusing on either single-target or massive Area-of-Effect (AoE) damage, the Bright Wizard is a glass cannon that thrives on high damage output, aiming to incinerate enemies before they can retaliate. Their unique risk-reward mechanics make them a thrilling and impactful presence in Realm vs. Realm (RVR) combat.
RVR Strengths: Unrivaled Magical Onslaught
- Exceptional Damage Output (Single Target & AoE): The Bright Wizard is feared for its ability to deliver immense magical damage. While their single-target damage is great and feared for its ability to quickly eliminate key threats, they are most renowned for the massive AoE damage they can unleash. This makes them versatile in RVR:
- Single-Target Spec: Ideal for small groups and ranked scenarios, where focused burst on high-priority targets (healers, enemy DPS) can swing a fight.
- AoE Spec: Universally desired in warbands, keep, and fort defenses. The ability to blanket large areas with destructive spells makes them critical for breaking enemy pushes, clearing objectives, and winning large-scale melees. The AoE spec is so potent that a single Bright Wizard can sometimes be the only dedicated DPS in specialized “Bomb” Warbands, built entirely around their explosive power.
- Flexible Positioning and Battlefield Impact: Despite being a “soft target,” a skilled Bright Wizard can adapt their positioning to maximize their impact:
- Backlines: The safest position to unleash continuous damage.
- Top of Walls (Keep/Fort Defense): Excellent for raining down AoE spells on attackers below, exploiting terrain advantages.
- Front Lines (with the right group): With dedicated Guard and heals, a BW can push forward to deliver devastating close-range AoE, creating immediate pressure and breaking enemy formations.
- Crucial Crowd Control (Limited): While not their primary role, the Bright Wizard does possess a root ability. Though limited, this single piece of CC can be vital for kiting, peeling for themselves, or locking down a critical target for a few precious seconds.
RVR Challenges: The Volatile Conduit
- Extreme Fragility (Glass Cannon): As a pure spellcaster, the Bright Wizard is inherently a soft target. They rely entirely on killing enemies quickly or receiving constant protection. Without guard and heals from a group, a Bright Wizard is highly vulnerable to focus fire, dives, and melee trains, making solo play generally not very viable.
- Combustion Mechanic and Self-Damage: The signature spell Combustion allows the Bright Wizard to significantly increase their spell power, pushing their damage to dangerous levels. However, this comes with a severe risk: the higher the Combustion, the greater the risk of miscasting and hurting themselves. This demands good management and constant monitoring of their own HP, as they can literally die from their own power. This “cost” adds a high skill ceiling and a thrilling risk-reward element to their RVR gameplay.
- Setup Dependence: While not as rigid as an Engineer, a Bright Wizard thrives when they have time to cast and are protected. Being constantly disrupted or forced to move significantly reduces their damage output. Potions can help with solo play, but in groups or warbands, the healers are critical for mitigating their self-damage and overall fragility.
The Bright Wizard in RVR: A Calculated Inferno
The Bright Wizard is the epitome of high-risk, high-reward RVR gameplay. Their unparalleled magical damage, particularly their AoE potential, makes them an indispensable asset for breaking enemy lines, defending objectives, and winning large-scale engagements. While their fragility and the self-damaging nature of Combustion demand a skilled hand and dedicated group support, a master Bright Wizard can unleash a calculated inferno upon the enemy, turning the tide of any RVR battle with their devastating magical power.
Playing a Damage Per Second (DPS) class in Warhammer Online: Return of Reckoning (RoR) is all about maximizing your offensive output, assisting your tank, and eliminating enemy threats efficiently. While tanks soak damage and healers keep everyone alive, DPS are the sharp end of the spear, responsible for taking down the enemy.
Just like with tanks, the specific skill names and mechanics will vary slightly between DPS careers (e.g., White Lion, Slayer, Witch Hunter, Shadow Warrior for Order; Choppa, Marauder, Sorcerer, Squig Herder for Destruction), but the core principles of effective DPS remain consistent.
The Core Philosophy of a RoR DPS
A successful RoR DPS focuses on:
- Target Prioritization: Knowing who to hit and when to hit them.
- Damage Maximization: Utilizing your rotations, procs, and cooldowns effectively to output the highest possible damage.
- Situational Awareness: Avoiding unnecessary damage, positioning for optimal attacks, and reacting to battlefield changes.
- Assisting Allies: Peeling for healers, interrupting key enemy abilities, and adding utility where needed.
Essential DPS Skills and Their Usage
1. Core Damage Abilities (Spam/Rotation Skills)
- What they do: These are your bread-and-butter attacks, forming the core of your damage rotation. They generate resources (if applicable) or simply deal consistent damage.
- When they’re used:
- On Cooldown (or as part of your rotation): Most DPS careers have a specific sequence of abilities that maximize their damage output. Learn this rotation and execute it consistently.
- Resource Management: If your class uses a resource (e.g., Meticulous Strike for Witch Hunters generating ‘Accuracy’), ensure you’re using your skills in a way that keeps your resource high enough to use your more powerful abilities.
- Example: As a Choppa, your core rotation might involve alternating between “Furious Choppa” (damage + rage generation) and “Rampage” (damage + rage consumption), trying to keep your “Reckless Abandon” buff up as much as possible. You’re constantly hitting these abilities as soon as they’re available, focusing on your primary target.
2. Burst / Cooldown Abilities
- What they do: These are your most powerful damage-dealing abilities, often with long cooldowns. They are designed to deliver a massive spike of damage in a short window.
- When they’re used:
- Opening Engagements: Often used at the very start of a fight, especially in coordinated assaults, to quickly eliminate a priority target.
- Execute Phase: When an enemy’s health drops low, burst abilities can quickly finish them off before they can be healed or escape.
- Responding to Healing: If an enemy is being heavily healed, a coordinated burst from multiple DPS can overwhelm the healing.
- Focus Fire: Used in conjunction with other DPS to quickly eliminate a pre-called target.
- Example: As a Sorcerer, you might open with “Daemonic Breath” or “Gaze of the Dark Gods” to apply a powerful debuff or initial burst, followed by your core rotation. When your group calls for a focus fire on an enemy healer, you pop your “Gifts of Chaos” to significantly amplify your damage for a short duration and unleash your most powerful spells.
3. Interrupts (Punt, Stagger, Silence)
- What they do: These abilities stop an enemy’s current cast, preventing them from using a spell or channeled ability.
- When they’re used:
- Critical Casts: Identify and interrupt high-impact enemy abilities. This includes:
- Heals: Stopping enemy healers from saving their allies.
- CC: Preventing enemy mages from polymorphing your tank or putting your healer to sleep.
- Big DPS Spells: Interrupting powerful AoE nukes or single-target burst spells.
- Denying Resources: Some abilities are crucial for resource generation. Interrupting them can starve an enemy.
- Setting up Kills: Interrupting an enemy’s escape ability can ensure they stay in range for your group to finish them.
- Critical Casts: Identify and interrupt high-impact enemy abilities. This includes:
- Example: You see an enemy Archmage beginning to cast “Healing Resonance,” a powerful AoE heal. You immediately use your “Rift Blade” (Shadow Warrior) or “Gut Ripper” (Witch Hunter) to interrupt the cast, denying their group a significant amount of healing.
4. Crowd Control (CC) – Roots, Snares, Stuns, Disarms, Blinds
- What they do: These abilities impair enemy movement, actions, or vision, making them vulnerable or preventing them from attacking.
- When they’re used:
- Peeling for Allies: If an enemy melee DPS is on your healer, a root or snare can create distance, allowing your healer to escape or for your tank to re-engage.
- Target Isolation: Rooting a specific enemy can prevent them from fleeing or reaching their allies for healing.
- Setting Up Kills: Stuns can hold an enemy in place for your group to burst them down without retaliation. Disarms prevent melee attackers from using their weapons.
- Kiting: Applying snares to keep dangerous melee enemies at a distance while you deal damage.
- Example: An enemy Witch Elf has bypassed your tank and is now tearing into your Bright Wizard. You quickly apply a “Winged Death” (Witch Hunter) to root the Witch Elf, allowing your Bright Wizard to create distance and for your tank to pick them up.
5. Debuffs (Offensive Utility)
- What they do: DPS classes often have abilities that reduce enemy armor, resistances, outgoing damage, or healing received.
- When they’re used:
- Focus Fire Enhancement: Apply armor or resistance debuffs to the enemy target your group is focusing. This significantly increases the damage all your allies deal to that target.
- Threat Reduction: Debuffs that reduce enemy damage output can ease the burden on your healers, especially from dangerous melee DPS.
- Anti-Heal: Apply anti-healing debuffs to enemy healers or high-priority targets to reduce the effectiveness of incoming healing.
- Example: Your warband is focusing an enemy Ironbreaker. As a Squig Herder, you consistently apply “Barbed Arrow” to him, reducing his armor and making him much easier for your entire group to burn down.
General DPS Principles
- Target Priority:
- Healers First (often): Eliminating enemy healers is usually the quickest way to win a fight.
- Squishy DPS: Mages, archers, and some melee DPS are often easier to kill than tanks and can deal significant damage if left unchecked.
- Debuffers/CCers: Sometimes, taking out an enemy who is consistently applying powerful debuffs or CC to your team is a higher priority.
- Tanks Last: Tanks are designed to be hard to kill. Only focus them if all higher priority targets are dead or they are isolated and vulnerable.
- Positioning:
- Melee DPS: Stay on the enemy’s flanks or back to avoid cleaves and maximize your damage (some classes get bonuses for this). Stick to your tank’s target or peel for your healers.
- Ranged DPS: Maintain maximum range from the enemy frontline while still having line of sight to your target. Stay near your healers for potential peels or heals. Avoid being isolated.
- Situational Awareness:
- Watch for Enemy CC: Be ready to break free from roots, snares, or stuns, or to anticipate them and use a defensive ability.
- Avoid AoE: Don’t stand in enemy AoE spells. Even as a DPS, taking unnecessary damage taxes your healers.
- Protect Yourself: Don’t rely solely on your healers. Use your personal defensive abilities (e.g., “Dodge” for Witch Hunters, “Thousand Cuts” for Slayers) when you’re taking heavy damage.
- Communication: Call out your targets, especially if you’re initiating on a healer. Let your group know if you’re getting focused or if you’re out of position.
- Renown Skills: Prioritize offensive renown skills like Weapon Skill/Ballistic Skill, Initiative, and Strength/Intelligence. Defensive renown can be useful too, but your primary role is damage.
- Potions: Keep damage potions and speed potions on hand to enhance your burst or escape sticky situations.
By mastering these elements, a DPS player in RoR becomes a crucial force, turning the tide of battle through decisive damage and intelligent utility.
Pre Best in Slot Gear
|
|||
| Helmet: | Conqueror Set | ||
| Shoulders: | Conqueror Set | ||
| Cloak: | Beastlord Set | ||
| Chest: | Conqueror Set | ||
| Belt: | Conqueror Set | ||
| Gloves: | Conqueror Set | ||
| Boots: | Conqueror Set | ||
| Mainhand: | War Crest Vendor with Nihilist’s prefix | ||
| Offhand: | |||
| Jewelry Slot 1: | Genesis Remnant of the scholar | ||
| Jewelry Slot 2: | Genesis Aspect of the Scholar | ||
| Jewelry Slot 3: | Sentinel &(+4% Magic Critical) | ||
| Jewelry Slot 4: | Beastlord Set | ||
| Talisman: | Intelligence & Wounds | ||
Best in Slot Gear
|
|||
| Helmet: | Main Sovereign | ||
| Shoulders: | Main Sovereign | ||
| Cloak: | Main Sovereign | ||
| Chest: | Main Sovereign | ||
| Belt: | Triumphant Set | ||
| Gloves: | Triumphant Set | ||
| Boots: | Triumphant Set | ||
| Mainhand: | Bloodlord Greatstaff | ||
| Offhand: | |||
| Jewelry Slot 1: | Genesis Remnat of the scholar | ||
| Jewelry Slot 2: | Genesis Aspect of the Scholar | ||
| Jewelry Slot 3: | Triumphant Set &(+4% Magic Critical) | ||
| Jewelry Slot 4: | Main Sovereign | ||
| Talisman: | Intelligence & Wounds | ||


