Archetype: Ranged DPS
Special Mechanic: Daemon Summoning
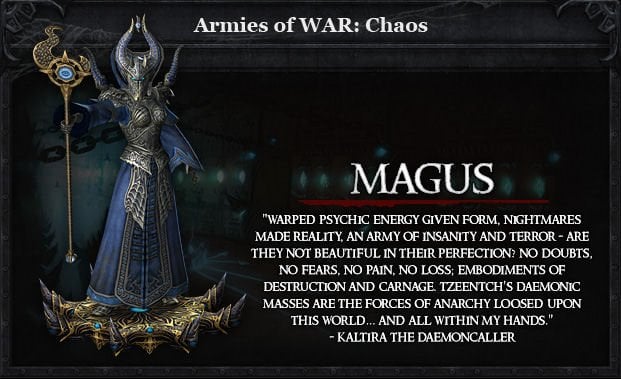
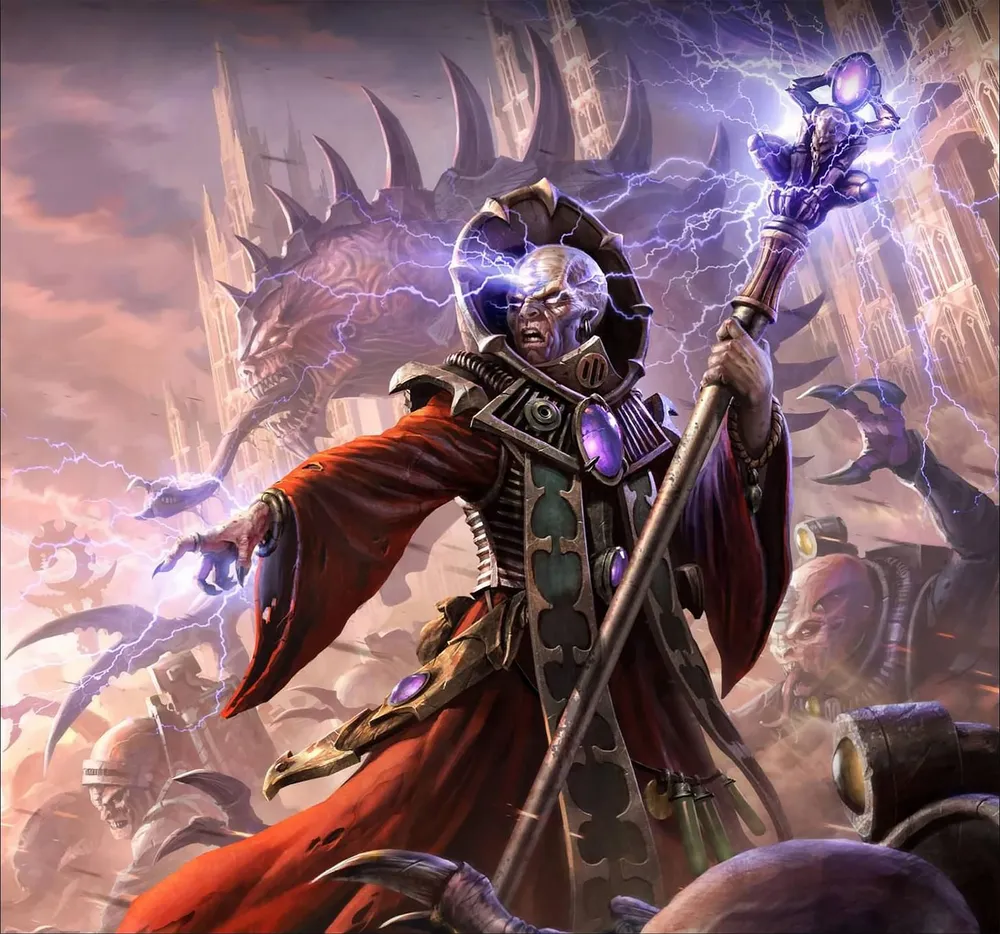
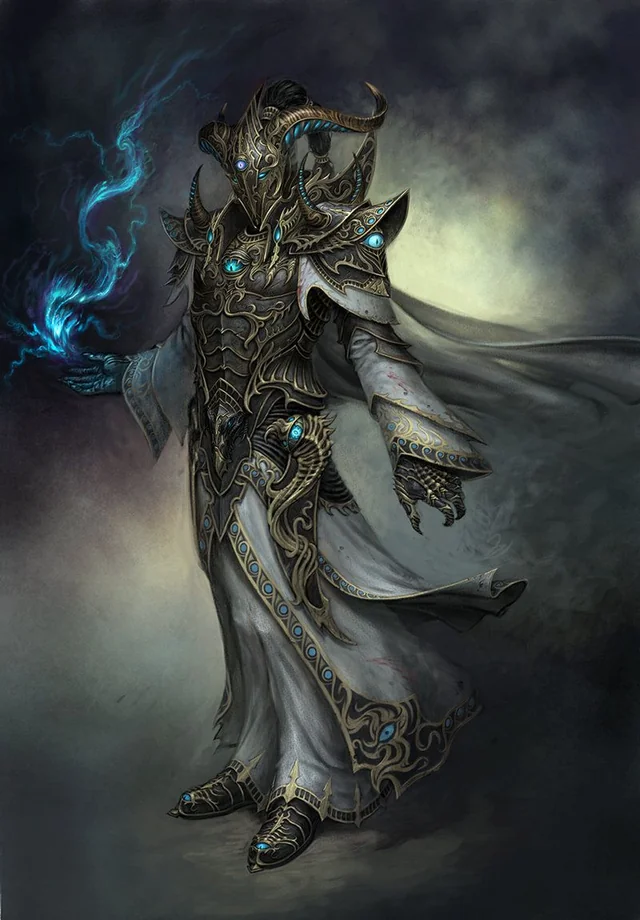
Class Details: A defensive ranged fighter who specializes in summoning daemonic aid and casting offensive magic. The Magus’s many daemonic minions include Disks, Horrors and flamers of Tzeentch, which allow them to prepare a battlefield for ambush or defense.
As a Magus, the primary tactical questions you must answer in battle are which of your abilities will be most effective, and where best to apply them. Your damage dealing power will be well applied in almost any situation, but an in depth understanding of the secondary effects of your spells is also pivotal to maximizing your effectiveness and potency. You are versatile, but you must select the best tools for each fight in order to succeed. Supplement this with good use of your Disc and its special abilities and you will have mastered the basics of playing the Magus.
Career Masteries
As a Magus, the primary tactical questions you must answer in battle are which of your abilities will be most effective, and where best to apply them. Your damage dealing power will be well applied in almost any situation, but an in depth understanding of the secondary effects of your spells is also pivotal to maximizing your effectiveness and potency. You are versatile, but you must select the best tools for each fight in order to succeed. Supplement this with good use of your Disc and its special abilities and you will have mastered the basics of playing the Magus.
Path of Havoc
This path focuses on long-range attacks, and specializes in destroying a single target at a time. A master of this path will typically call forth a Pink Horror to help him slaughter his enemies from a safe distance. While the Magus may sometimes appear vulnerable due to the intense concentration that shaping raw magic requires, the unsuspecting foe who thinks that they face a weak enemy will only have a brief moment to be shocked and dismayed before the blasts of chaotic force remove them from this life.
Path of Changing
A specialist in this path understands that change waits for no man, and that Tzeentch demands speed and swiftness in those who serve. The cost of this decision is that his spells dissipate more rapidly into the Winds and therefore are only effective at moderate ranges, but a master of this path is a quick and adaptable sorcerer who uses a summoned Flamer to great effect.
Path of Daemonology
This path is primarily focused on tapping into the power of warping and twisted chaotic energy to unleash massive blasts of power at close range. In conjunction with a summoned Blue Horror, a specialist in this path can rend and shatter everything around him, leaving a trail of ruin and destruction in his wake.
Important Stats
As a Magus you will need the following statistics which you can improve using armor sets, weapons, rings, talismans and renown points
Intelligence: Increases your magical damage reduces the chance your opponent’s chance to block or disrupt attacks.
Critical Chance: Increase your chance to do Critical damage .
Wounds: Increases your overall HP. You can never have enough HP.
Acquiring Gear
There are many ways to get gear:
- Open RvR: The gear and weapons you get here are for your main spec. When you kill or lock a zone you will be given a number of War Crests according to your level which you can trade for armor and weapons. At the end of a zone if you roll high enough you will be give a color bag with may contain certain tokens that you can trade and get a jewel set. Engineers don’t have defensive jewels set like other classes.
- Scenarios: Scenarios remain a very strong source of gear. You continue to earn War Crests at the end of every scenario, which are then traded with vendors in Altdorf (Order) or the Inevitable City (Destruction) for armor and weapons. The quality of gear from scenarios can still be among the best in the game, making them a crucial part of gearing up.
- Achievements & Tokens: The Tome of Knowledge is still a vital system. By completing achievements (e.g., killing a certain number of creatures, collecting specific items, or exploring areas), you unlock entries in your Tome. These unlocks can reward tokens that are then traded in the library in Altdorf or the Inevitable City for unique jewels or tactics. Some very desirable sets and bonuses can be acquired this way. The development team has continued to add more Tome Achievement Unlocks, including some tied to Live Events as of 2025.
- Tier 4 epic quests: The epic quest lines in each area continue to be a source of significant rewards. Upon completing these lengthy, multi-step quest chains, you are typically given a choice of a powerful item, often with unique appearances or stats. These quests are a reliable way to get high-quality gear.
- Dungeons & Lairs: Dungeons and lairs are still important for acquiring gear, weapons, and jewels, both while leveling up and for end-game progression. The RoR team has been actively updating and even adding new PvE content. For example, as of early 2025, there’s a “Lost Vale” dungeon update introducing new armor sets (Dark Promise sets, including main spec, off-spec, and hybrid options), and materials for crafting permanent rings.
- Ward System: The game utilizes a “Ward” system where you often need to unlock lower-tier Ward sets before being able to equip higher-tier dungeon gear (e.g., Gunbad -> City -> Bastion Stair).
- Public Quests (PQs): While not strictly “dungeons,” PQs are large-scale PvE events that can also provide gear through loot bags. RoR has implemented different difficulties for PQs (Easy, Normal, Hard) which scale with the recommended number of players and offer varying loot quality.
The Magus: Daemonic Artillery and Battlefield Control
The Magus in Warhammer Online: Return of Reckoning is a distinct ranged DPS class, specializing in summoning daemonic aid and unleashing offensive magic. These “defensive ranged fighters” leverage their various daemonic minions (Disks, Horrors, Flamers of Tzeentch) to shape the battlefield for either offensive ambushes or strategic defense. With two main specializations focusing on long-range single-target or medium-range AoE, the Magus offers a unique, setup-dependent RVR playstyle.
RVR Strengths: Daemonic Power and Battlefield Domination
- Daemonic Minions for Battlefield Preparation: The Magus’s defining characteristic is their reliance on daemonic minions. These summoned creatures allow them to “prepare a battlefield” by controlling space, applying pressure, or providing utility. Learning to effectively use these demons and their abilities is crucial for maximizing damage output and group utility (buffs for allies, debuffs for enemies).
- Dual Specializations for Diverse RVR Roles: The Magus’s two main specializations offer distinct playstyles:
- Long-Range Single-Target Spec: Excels at precision targeting and applying sustained pressure. This spec is good for defending keeps and forts, where the Magus can position themselves on high, protected positions to pick off specific enemy targets. It offers massive single-target damage but with low mobility.
- AoE Medium-Range Spec: This specialization focuses on area-of-effect damage. The AoE Magus is good for kiting and warband play, raining down explosive damage. It’s also very good for keep and fort defense, barraging enemy attackers as they push through confined spaces. This spec offers medium to great DPS damage.
- Strategic RVR Presence:
- Good as solo and in groups for general RvR (PVP). A solo Magus can effectively control a small area with minions and spells.
- Excellent Keep/Fort Defender: Regardless of spec, the Magus’s ability to create static defense zones with their demons makes them a top-tier defender for fortifications.
RVR Challenges: Setup Dependence and Pet Vulnerability
- Setup-Dependent Gameplay: A significant challenge for the Magus (and Engineer) is that they are fairly weak when not set up. They “need to have time to deploy” their daemonic minions to be at their best. In highly mobile or chaotic RVR engagements, this can be a burden, as they might struggle to establish their zone of control. This means a good Magus player needs foresight and protection to shine.
- Pet Management (“Demons… can be a burden”): While core to their identity, managing daemonic minions effectively is crucial. Demons can be targeted and killed, and their unique behaviors sometimes make them feel unresponsive or out of place in fast-moving combat. Losing a key demon significantly reduces the Magus’s power.
- Limited Warband Slots: While the AoE spec is good for warband play and ensures the Magus gets a spot in warbands, it’s usually just one spot. The single-target spec has no place in Warbands, limiting the utility of that build for large-scale RVR.
The Magus in RVR: The Daemonic Battlefield Architect
The Magus in Warhammer Online: Return of Reckoning is a unique ranged DPS, excelling at controlling the battlefield through summoned daemonic minions and powerful offensive magic. While their setup-dependent nature and pet management can be challenging, a well-played Magus can unleash devastating single-target or AoE damage and create zones of control that dominate RVR engagements, making them an excellent choice for defensive operations and a potent, albeit niche, addition to warbands.
Playing a Damage Per Second (DPS) class in Warhammer Online: Return of Reckoning (RoR) is all about maximizing your offensive output, assisting your tank, and eliminating enemy threats efficiently. While tanks soak damage and healers keep everyone alive, DPS are the sharp end of the spear, responsible for taking down the enemy.
Just like with tanks, the specific skill names and mechanics will vary slightly between DPS careers (e.g., White Lion, Slayer, Witch Hunter, Shadow Warrior for Order; Choppa, Marauder, Sorcerer, Squig Herder for Destruction), but the core principles of effective DPS remain consistent.
The Core Philosophy of a RoR DPS
A successful RoR DPS focuses on:
- Target Prioritization: Knowing who to hit and when to hit them.
- Damage Maximization: Utilizing your rotations, procs, and cooldowns effectively to output the highest possible damage.
- Situational Awareness: Avoiding unnecessary damage, positioning for optimal attacks, and reacting to battlefield changes.
- Assisting Allies: Peeling for healers, interrupting key enemy abilities, and adding utility where needed.
Essential DPS Skills and Their Usage
1. Core Damage Abilities (Spam/Rotation Skills)
- What they do: These are your bread-and-butter attacks, forming the core of your damage rotation. They generate resources (if applicable) or simply deal consistent damage.
- When they’re used:
- On Cooldown (or as part of your rotation): Most DPS careers have a specific sequence of abilities that maximize their damage output. Learn this rotation and execute it consistently.
- Resource Management: If your class uses a resource (e.g., Meticulous Strike for Witch Hunters generating ‘Accuracy’), ensure you’re using your skills in a way that keeps your resource high enough to use your more powerful abilities.
- Example: As a Choppa, your core rotation might involve alternating between “Furious Choppa” (damage + rage generation) and “Rampage” (damage + rage consumption), trying to keep your “Reckless Abandon” buff up as much as possible. You’re constantly hitting these abilities as soon as they’re available, focusing on your primary target.
2. Burst / Cooldown Abilities
- What they do: These are your most powerful damage-dealing abilities, often with long cooldowns. They are designed to deliver a massive spike of damage in a short window.
- When they’re used:
- Opening Engagements: Often used at the very start of a fight, especially in coordinated assaults, to quickly eliminate a priority target.
- Execute Phase: When an enemy’s health drops low, burst abilities can quickly finish them off before they can be healed or escape.
- Responding to Healing: If an enemy is being heavily healed, a coordinated burst from multiple DPS can overwhelm the healing.
- Focus Fire: Used in conjunction with other DPS to quickly eliminate a pre-called target.
- Example: As a Sorcerer, you might open with “Daemonic Breath” or “Gaze of the Dark Gods” to apply a powerful debuff or initial burst, followed by your core rotation. When your group calls for a focus fire on an enemy healer, you pop your “Gifts of Chaos” to significantly amplify your damage for a short duration and unleash your most powerful spells.
3. Interrupts (Punt, Stagger, Silence)
- What they do: These abilities stop an enemy’s current cast, preventing them from using a spell or channeled ability.
- When they’re used:
- Critical Casts: Identify and interrupt high-impact enemy abilities. This includes:
- Heals: Stopping enemy healers from saving their allies.
- CC: Preventing enemy mages from polymorphing your tank or putting your healer to sleep.
- Big DPS Spells: Interrupting powerful AoE nukes or single-target burst spells.
- Denying Resources: Some abilities are crucial for resource generation. Interrupting them can starve an enemy.
- Setting up Kills: Interrupting an enemy’s escape ability can ensure they stay in range for your group to finish them.
- Critical Casts: Identify and interrupt high-impact enemy abilities. This includes:
- Example: You see an enemy Archmage beginning to cast “Healing Resonance,” a powerful AoE heal. You immediately use your “Rift Blade” (Shadow Warrior) or “Gut Ripper” (Witch Hunter) to interrupt the cast, denying their group a significant amount of healing.
4. Crowd Control (CC) – Roots, Snares, Stuns, Disarms, Blinds
- What they do: These abilities impair enemy movement, actions, or vision, making them vulnerable or preventing them from attacking.
- When they’re used:
- Peeling for Allies: If an enemy melee DPS is on your healer, a root or snare can create distance, allowing your healer to escape or for your tank to re-engage.
- Target Isolation: Rooting a specific enemy can prevent them from fleeing or reaching their allies for healing.
- Setting Up Kills: Stuns can hold an enemy in place for your group to burst them down without retaliation. Disarms prevent melee attackers from using their weapons.
- Kiting: Applying snares to keep dangerous melee enemies at a distance while you deal damage.
- Example: An enemy Witch Elf has bypassed your tank and is now tearing into your Bright Wizard. You quickly apply a “Winged Death” (Witch Hunter) to root the Witch Elf, allowing your Bright Wizard to create distance and for your tank to pick them up.
5. Debuffs (Offensive Utility)
- What they do: DPS classes often have abilities that reduce enemy armor, resistances, outgoing damage, or healing received.
- When they’re used:
- Focus Fire Enhancement: Apply armor or resistance debuffs to the enemy target your group is focusing. This significantly increases the damage all your allies deal to that target.
- Threat Reduction: Debuffs that reduce enemy damage output can ease the burden on your healers, especially from dangerous melee DPS.
- Anti-Heal: Apply anti-healing debuffs to enemy healers or high-priority targets to reduce the effectiveness of incoming healing.
- Example: Your warband is focusing an enemy Ironbreaker. As a Squig Herder, you consistently apply “Barbed Arrow” to him, reducing his armor and making him much easier for your entire group to burn down.
General DPS Principles
- Target Priority:
- Healers First (often): Eliminating enemy healers is usually the quickest way to win a fight.
- Squishy DPS: Mages, archers, and some melee DPS are often easier to kill than tanks and can deal significant damage if left unchecked.
- Debuffers/CCers: Sometimes, taking out an enemy who is consistently applying powerful debuffs or CC to your team is a higher priority.
- Tanks Last: Tanks are designed to be hard to kill. Only focus them if all higher priority targets are dead or they are isolated and vulnerable.
- Positioning:
- Melee DPS: Stay on the enemy’s flanks or back to avoid cleaves and maximize your damage (some classes get bonuses for this). Stick to your tank’s target or peel for your healers.
- Ranged DPS: Maintain maximum range from the enemy frontline while still having line of sight to your target. Stay near your healers for potential peels or heals. Avoid being isolated.
- Situational Awareness:
- Watch for Enemy CC: Be ready to break free from roots, snares, or stuns, or to anticipate them and use a defensive ability.
- Avoid AoE: Don’t stand in enemy AoE spells. Even as a DPS, taking unnecessary damage taxes your healers.
- Protect Yourself: Don’t rely solely on your healers. Use your personal defensive abilities (e.g., “Dodge” for Witch Hunters, “Thousand Cuts” for Slayers) when you’re taking heavy damage.
- Communication: Call out your targets, especially if you’re initiating on a healer. Let your group know if you’re getting focused or if you’re out of position.
- Renown Skills: Prioritize offensive renown skills like Weapon Skill/Ballistic Skill, Initiative, and Strength/Intelligence. Defensive renown can be useful too, but your primary role is damage.
- Potions: Keep damage potions and speed potions on hand to enhance your burst or escape sticky situations.
By mastering these elements, a DPS player in RoR becomes a crucial force, turning the tide of battle through decisive damage and intelligent utility.
Pre Best in Slot Gear
🚧 Pre-Best-in-Slot Gear Set:
Helmet: Sentinel Set
Shoulders: Bloodlord Set
Cloak: Veil of Nehekaran Ritualists
Chest: Bloodlord Set
Belt: Bloodlord Set
Gloves: Bloodlord Set
Boots: Bloodlord Set
Mainhand: Bloodlord Staff
Jewelry Slot 1: Genesis Aspect of the Scholar
Jewelry Slot 2: Genesis Remnant of the Scholar
Jewelry Slot 3: Sentinel Warp Pendant ( +Magic Power )
Jewelry Slot 4: Emblem of Nehekharan Ritualists
Talisman: 7×19 Intelligence
Best in Slot Gear
Helmet: Sovereign Daemonlord Set
Shoulders: Sovereign Daemonlord Set
Cloak: Sovereign Daemonlord Set
Chest: Sovereign Daemonlord Set
Belt: Sentinel Set
Gloves: Sovereign Daemonlord Set
Boots: Sovereign Daemonlord Set
Mainhand: Bloodlord Staff
Jewelry Slot 1: Sovereign Daemonlord Set
Jewelry Slot 2: Copper Sapphire Annulus
Jewelry Slot 3: Exquisite Gunbad Jet
Jewelry Slot 4: Sentinel Warp Pendant ( +Magic Power )
Talisman: 3×23 Intelligence 5×23 Wounds or Better


